
~Who Says Prepping Can't Be Fun?~
Last week, several good girlfriends of mine came by for a visit and we spent our time together crafting, laughing and chattering the morning away... I guess you can see why I don't always get much accomplished when joined by others... There is always something fun to talk about, a new story to tell, or lots of giggles to keep my mind plenty occupied.
I used to worry so much about attending crops or visiting and crafting friends, and the amount of work I would get accomplished... And then I realized, that the very idea of thinking it was "work" in the first place, was where I was going wrong. Furthermore, I had somehow set up expectations associated with this "work" and how much I felt I needed to accomplish to feel as though I had a productive day.
How ridiculous! Right?! It's crafting we're talking about!
I mean, yes, there were times when I did really have work obligations or design-team commitments, and yes, there were times that the only available and designated time to create for these projects was during a crop or with friends, and you all know how that turns out! But the point here is, whether work related or not, crafting or a gathering with friends of any sort is supposed to be fun, first and foremost. All else just follows behind, and is a bonus, if you ask me.
So instead of being hard on myself, I've decided that it's my approach that needs to change...And so it has! It no longer bothers me when my crafty pile sits idle during a stomach-bursting-laughter-induced riot with my gal pals. Because at the end of the day, that is more precious than any card I could ever create. And besides, the mindless prep work I end up doing while busy chatting (things like stamping designs onto paper, die-cutting, or other tedious things I generally procrastinate on) just help me later on when it't time to sit down and get serious.
Just check out these cards...They are all a result of hours spent just stamping and die-cutting with no particular purpose. But because I chose to stick to a specific color palette, all the items ended up coordinating nicely, and gave me plenty of tidbits to work with once I was ready to create the cards.

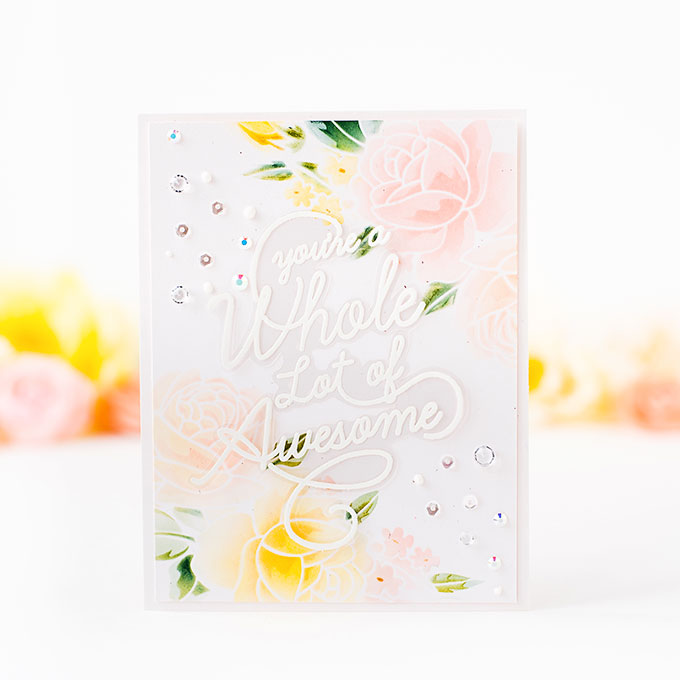
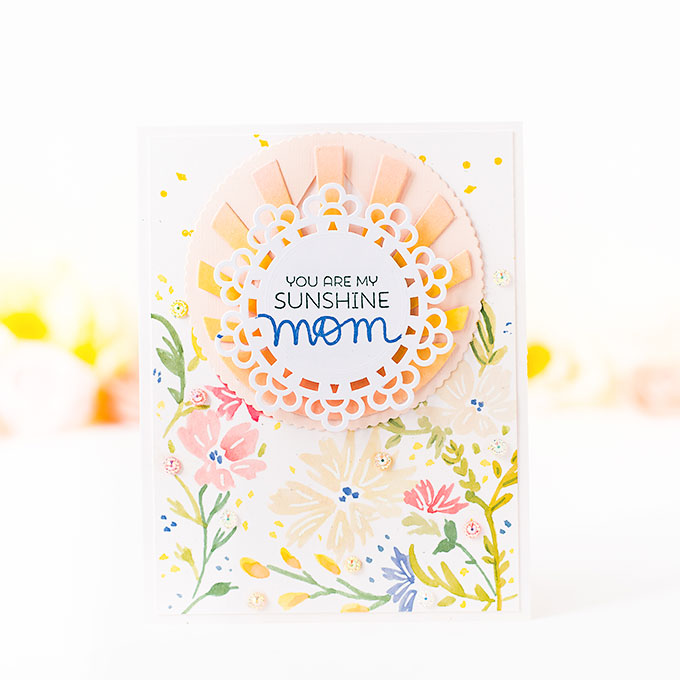
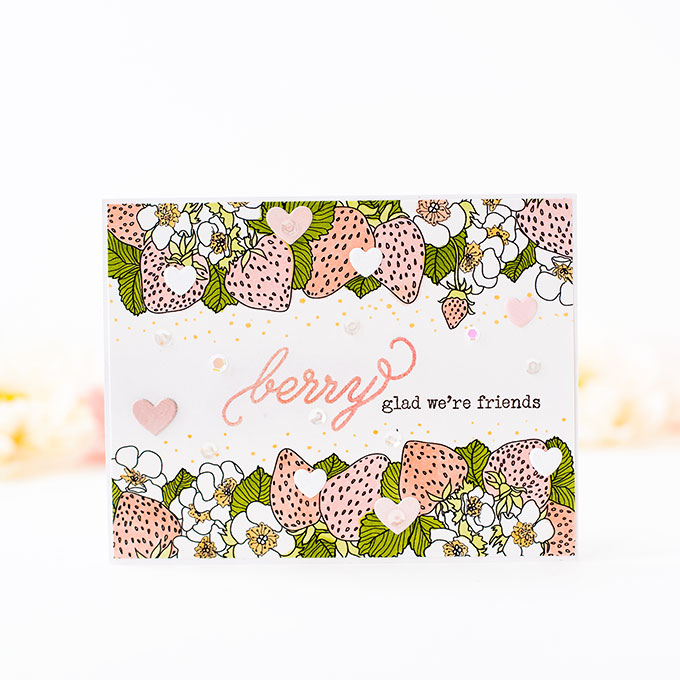
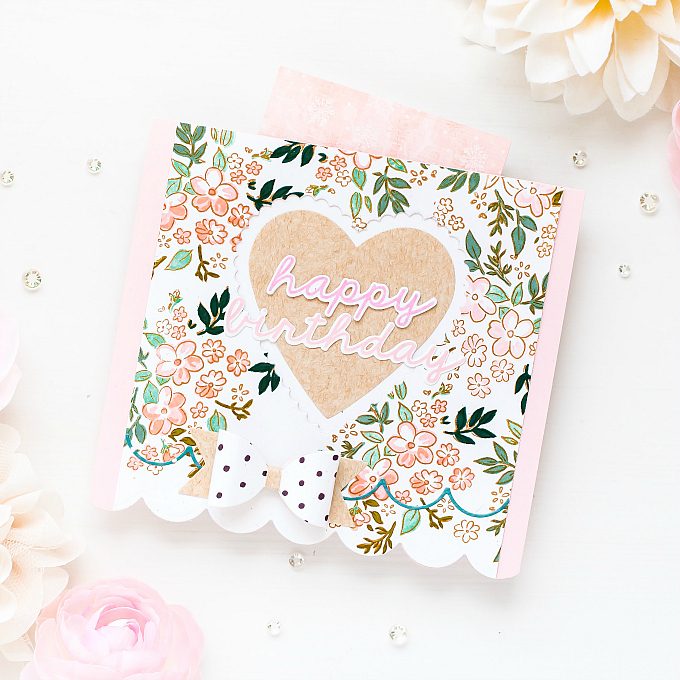
The first card is a result of a few stamped backgrounds I created. It is a very special card going to someone very special in my life... :)

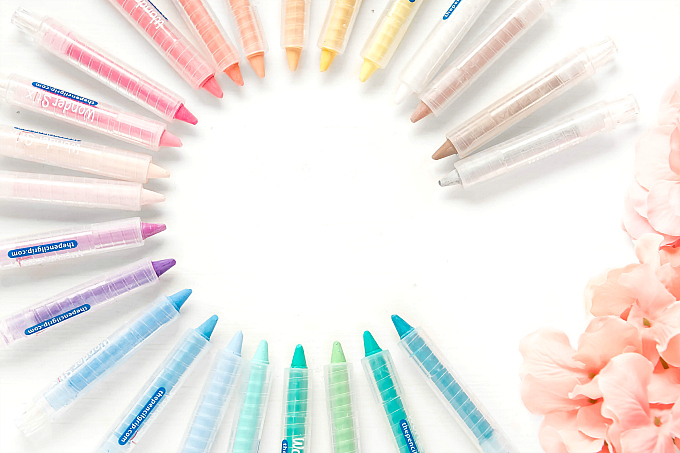
For this card, and all of the cards featured on this page, I used VersaMagic Ink in Spring Peony, Purple Hydrangea, Spanish Olive, and Agean Sea. Most of these colors can be found in this little ink pack. The base of this card is a light pink cardstock, layered with the stamped cardstock. The circle-dot stamp is from a mini Prima stamp, and the teensy little flowers are from this WPlus9 stamp set.
Over the stamped paper, I layered an embossed hexagon cardstock bit, using this Stampin' Up embossing folder. Followed by the word 'love' stamped with this Papertrey Ink Stamp.

Just below that, I stamped a piece of cardstock using a delicate lace impression, and fussy-cut the bottom scalloped details. Behind the lace-stamped cardstock, is one last stamped print, featuring a pretty floral design.

I added some real lace over all of the layered papers, as well as a banner die-cut using this die.
Just below that, I added a stamped heart, and punched the bottom of the pink paper using a Martha Stewart edge punch.

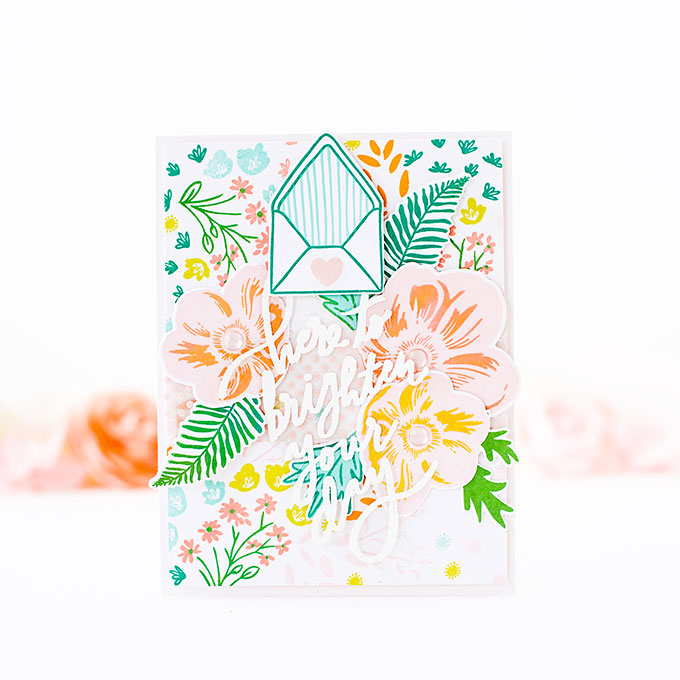
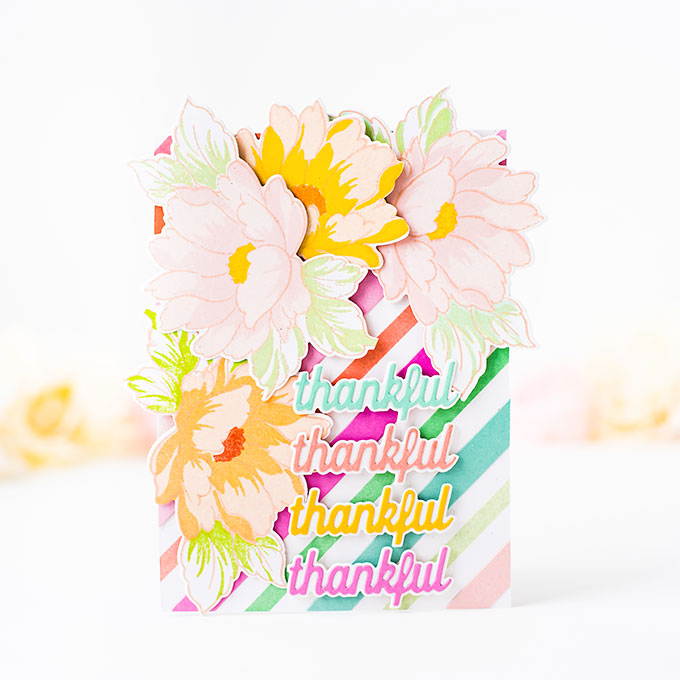
This next card was quite labour-intensive. Luckily, I was so busy chatting that I barely noticed all the intricate stamping and fussy cutting!
Just below that, I added a stamped heart, and punched the bottom of the pink paper using a Martha Stewart edge punch.
This next card was quite labour-intensive. Luckily, I was so busy chatting that I barely noticed all the intricate stamping and fussy cutting!
I actually started by stamping MANY hexagons, using this TCM stamp set, onto white cardstock in my chosen colors. Once I stamped them, I hand-cut the little hexagons. I had a piece of white cardstock already embossed with the hexagon pattern, so when I put the card together, I alternated between adding the cut-out hexagons, stamped hearts, liquid pearls, and die-cut borders.

I added teensy buttons and sequins to some of the hexagons, as well. And finished off the whole "quilted piece" by adding a punched piece of pink cardstock, on each side.
To the top of the card, I added a strip of stamped hexagons, and a die-cut hexagon out of pink cardstock, with some liquid pearls.

To the bottom of the card, I added some vintage ribbon, and two die-cut circle borders.
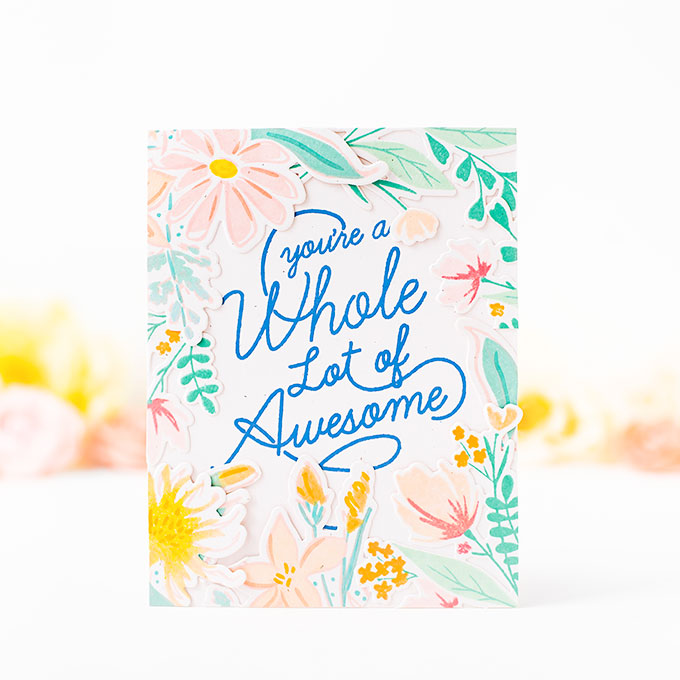
I am working on a second batch of cards with these stamped papers, and I'll be posting them tomorrow.
This weekend, a bunch of us are attending a fundraiser crop, and I think this is just what I might do again. Stamp a little here, die-cut a bit there, and maybe make a few little embellishments to use in my cards at a later date.
Thanks so much for visiting today...See you again tomorrow!
*Ivana*


These cards are breathtaking! I love them both so much.
ReplyDeleteMelissa